Week Two of Mix and Match on Monday. Who would have thought it would last this long???
I love my Stamparatus! It and my BigShot are my most used tools. I will be honest and say that I often found positioning stamps and getting a perfect impression difficult and many a stamped image was discarded because it was not quite right. In fact I had begun to steer away from purchasing any red rubber stamp sets and would only look for photopolymer as they made lining up images so much easier. Enter the Stamparatus. Once you get used to it and you learn a few of the tricks for using it, it will never leave your desk. So with dozens of wood mounted red rubber stamps lying idle in drawers and on shelves I decided that I would remove the wood mount and turn them into clear mount stamp sets. I purchased a few sheets of EZ Mount Static Cling Mounting Foam and some Standard Stamp Cases and set about converting my wood mount stamps into stamps that I could now use in the Stamparatus. With a strategic slice and some Snail Adhesive I was able to reuse the insert from the larger stamp case and voila…..a whole new stamp set. One down!!! Only $%^& to go!!! (While I know you fellow stampers can keep a secret, my husband has been known to read my blog and while he really doesn’t care, there are just a few things a girl likes to keep to herself.) An added bonus of course is that these stamp cases will take up half as much room on my shelves. With the Occasions Catalogue and Sale-A-Bration coming up soonish I might just need that room I am creating!
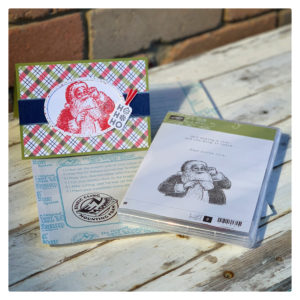
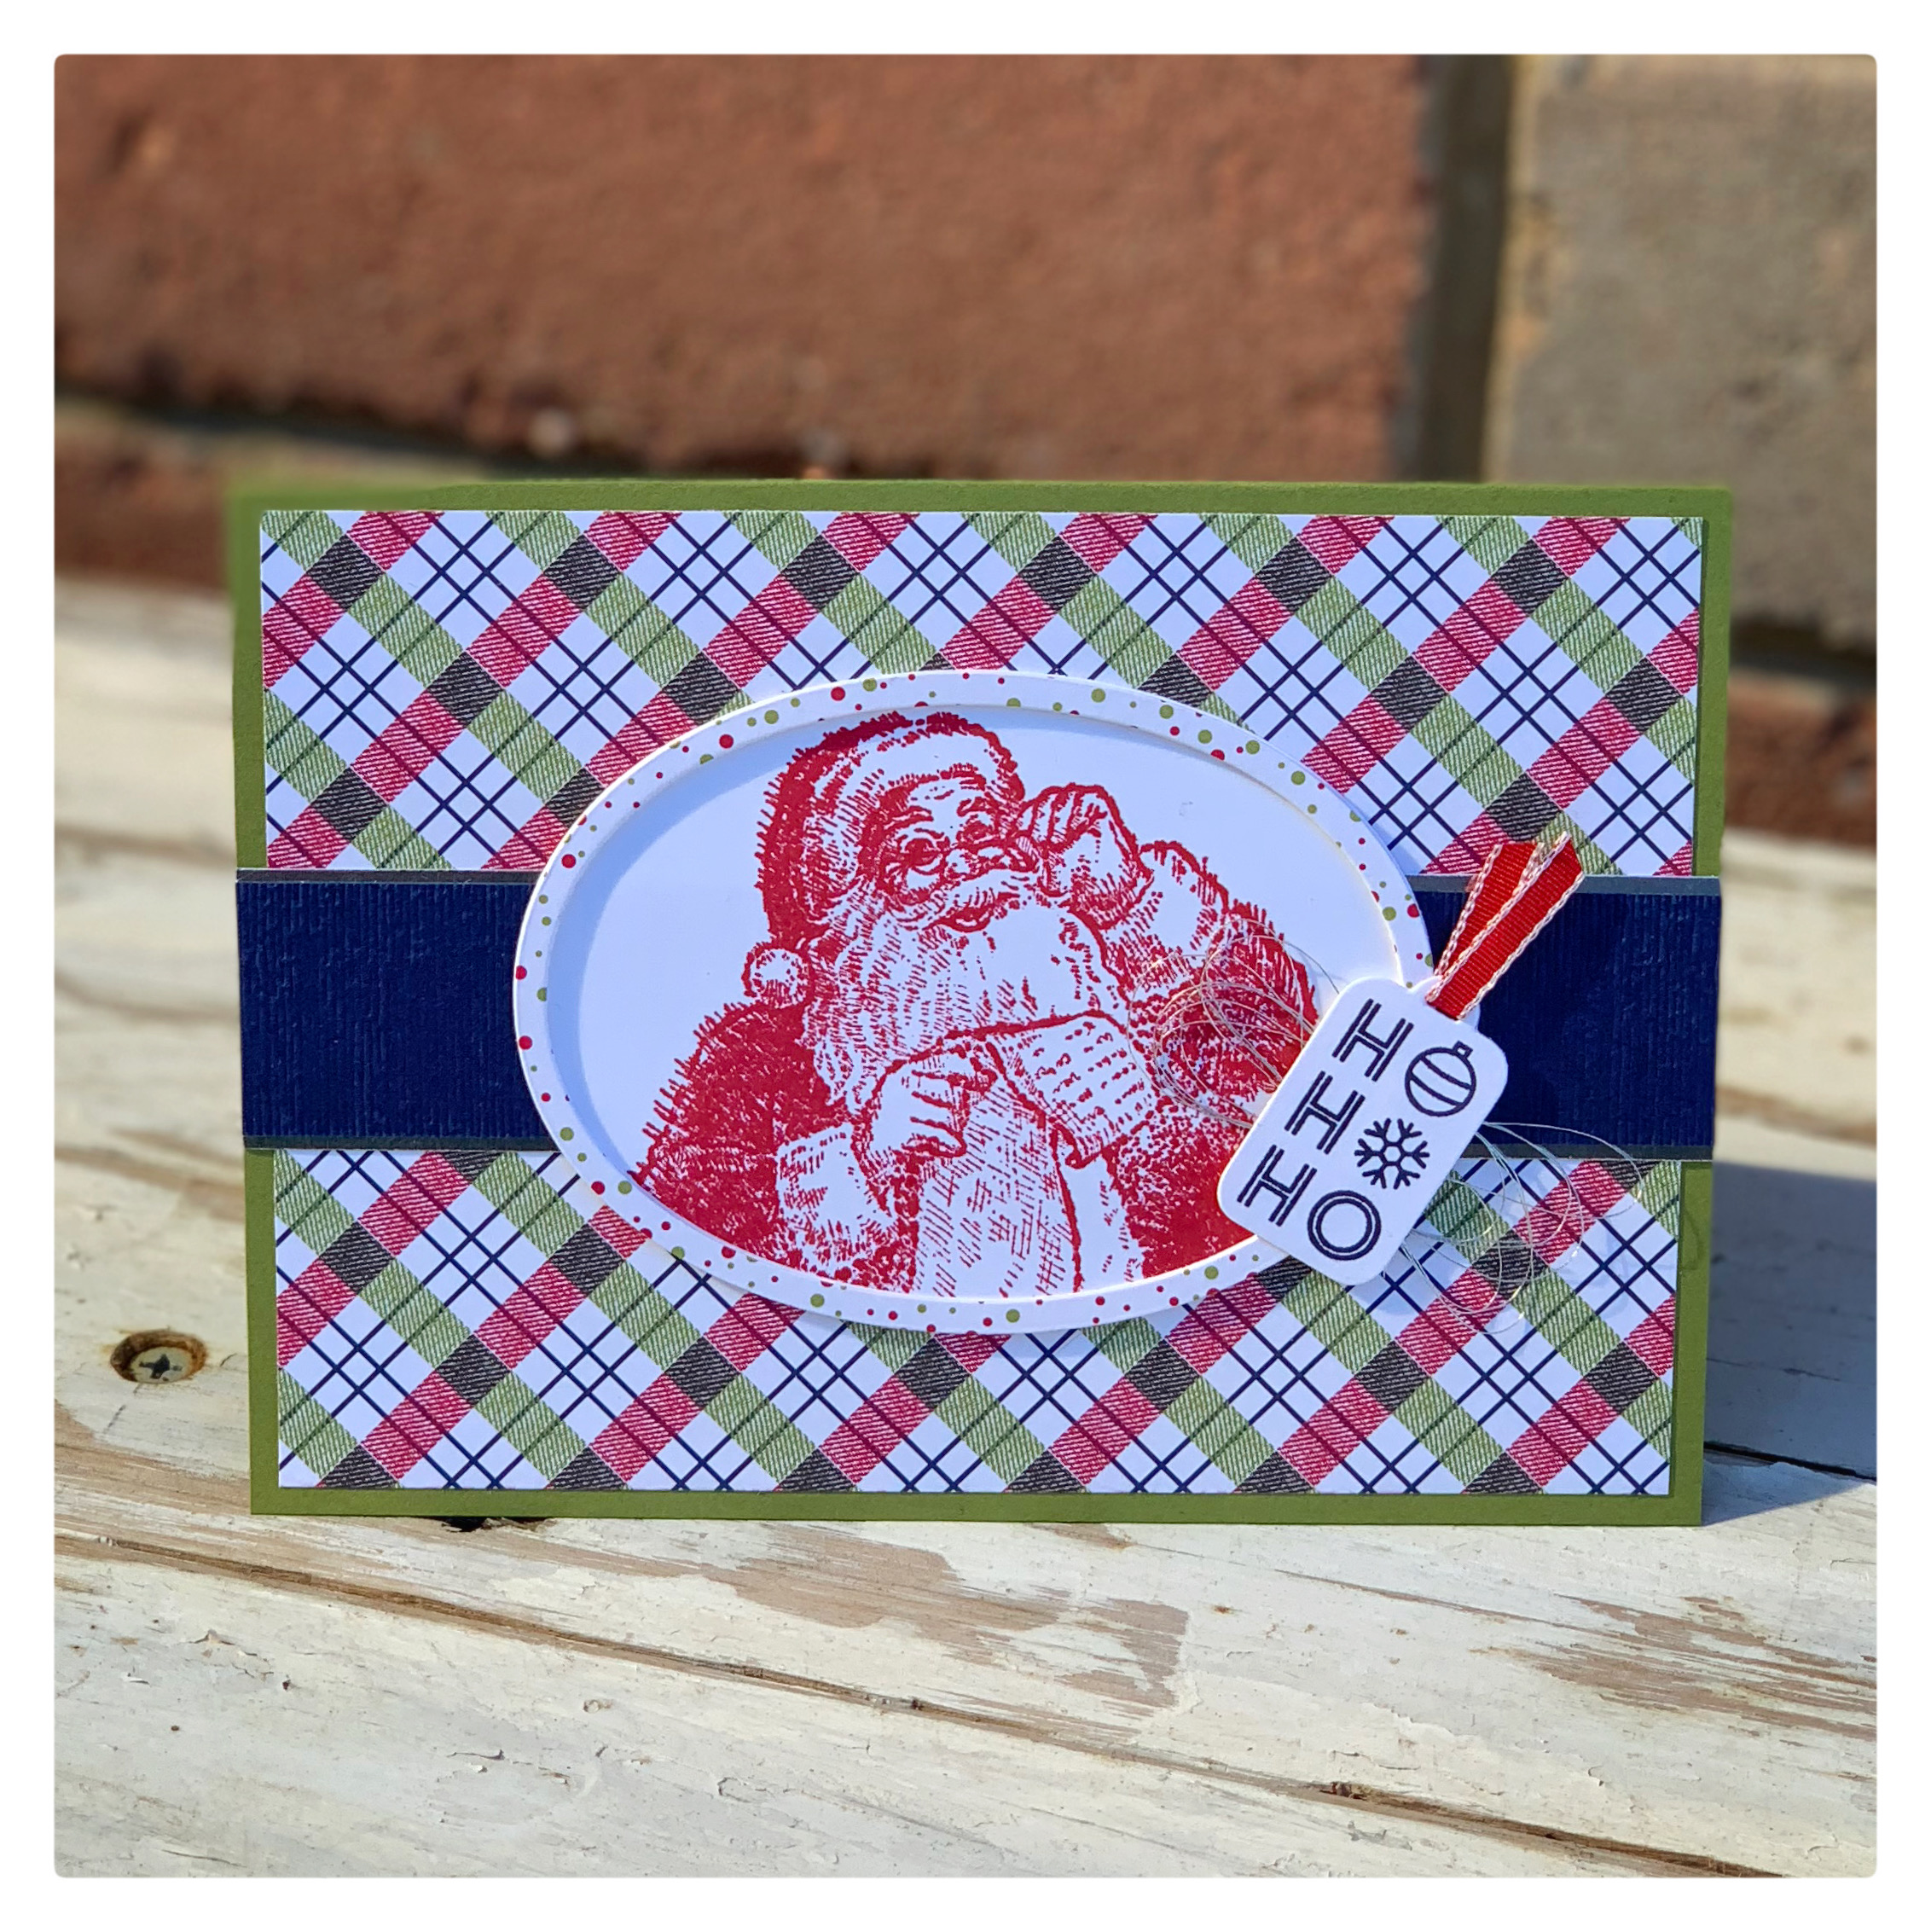
This week’s card is a simple but effective one. Using my Stampartus and my newly created clear mount stamp set I stamped Santa on a piece of Whisper White using Real Red ink. I then diecut the stamped image using one of the ovals from the Layering Ovals framelits set. Next I created a oval frame by die cutting 3 white cardstock ovals and one from the spotted designer series paper. It is easy to diecut oval, square or circular frames using the layering dies. Just choose two that fit inside each other and run them through the BigShot together. I then glued them one on top of each other to make a dimensional frame that I attached to my Santa image. I used the Subtle embossing folder to emboss the strip of Night of Navy cardstock before matting it with silver foil and attaching it to a piece of the diagonal check designer series paper. All this was mounted on a standard card of Old Olive before I attached the Ho Ho Ho tag from the Tags & Tidings bundle. I love the traditional red and green with a splash of navy.
I now feel much more confident about using my red rubber stamps and I had forgotten just what a crisp image they do stamp. Santa’s List is one of my favourite ever Christmas stamps and I am very happy that I was able to breathe new life into it and I intend on using it a lot more in the future.
Product List


Ink
Card Stock
- Night Of Navy A4 Card Stock [106577] $14.75
- Old Olive A4 Card Stock [106576] $14.75
- Whisper White A4 Card Stock [106549] $17.00
Tools & Adhesive